How to use the image editor to optimize your visuals for your social media posts (Pro, Business)
Present your photos, infographics and images exactly as you desire!
Blog2Social automatically adapts your images to the size and format requirements of each social network. However, you now have the option to crop, flip, and rotate your images as well.
Select an image or multiple images for your post and edit the images individually for specific social media networks like Facebook, Twitter, LinkedIn, Xing, Instagram and Pinterest, just as you’d like to present them to each of your communities!
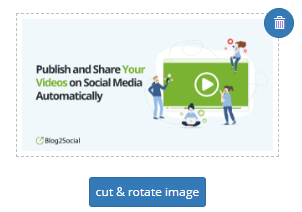
Simply click on the “cut & rotate image” button below the post image to open the image editing options in Blog2Social.
Available image editing options:
- Crop/Cut an image
- Rotate an image in any direction
- Flip an image horizontally
- Flip an image vertically
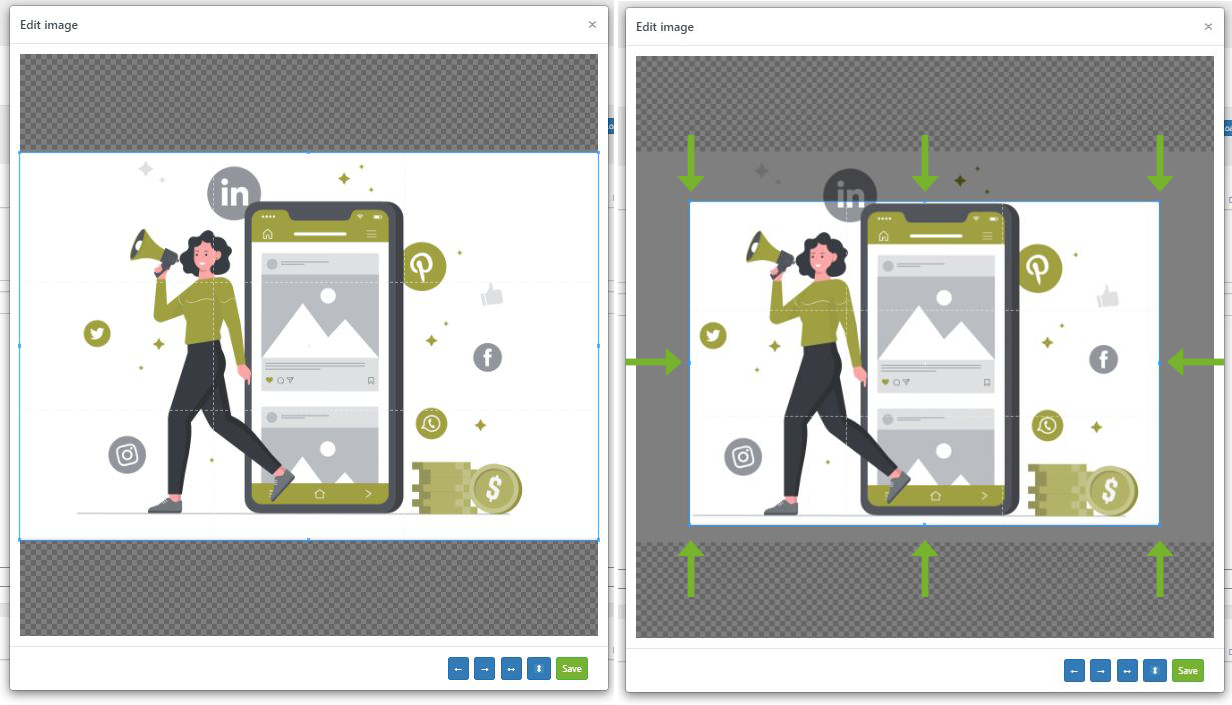
Crop/Cut an image
If you would like to only use a specify area in your image for the social media post you can cut/crop the image to reduce the visible area used for the social media post image. Simply click and pull on the edges of the highlighted window overlay to change its width or height. Clicking and pulling on one of the four corners allows scaling the highlighted window overlay.
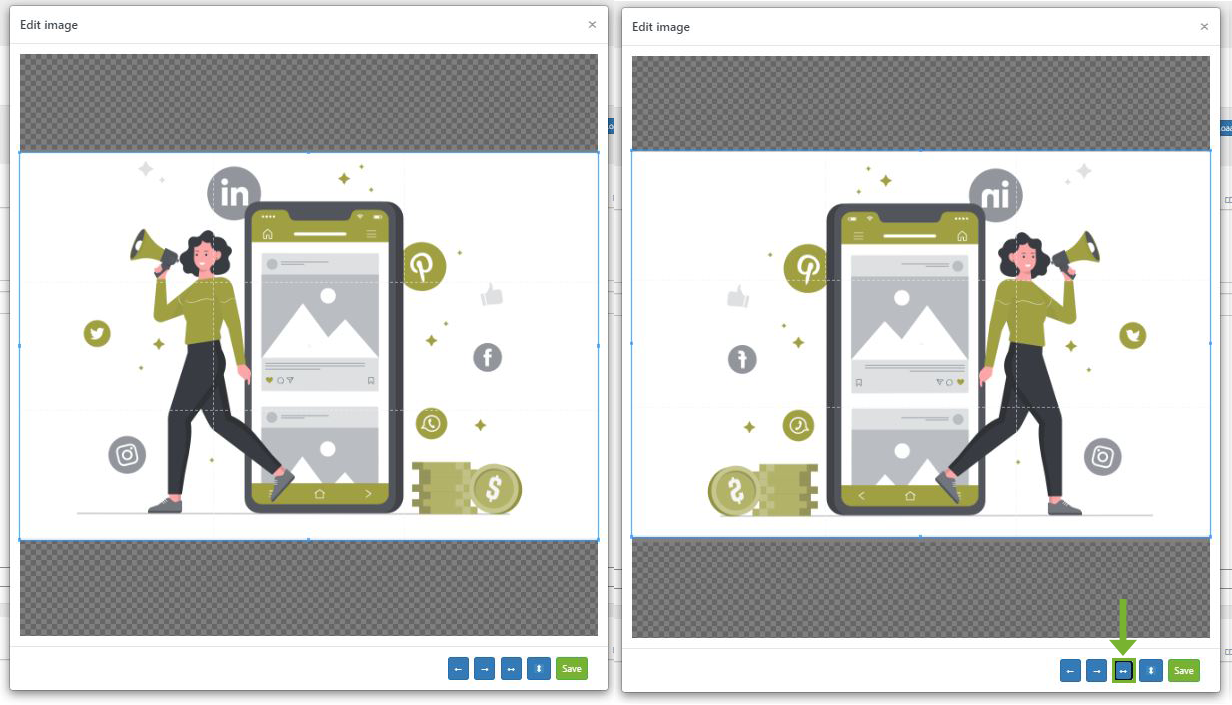
Flip an image horizontally
The flip horizontally function (left and right arrow) reverses the image horizontally, that is, from left to right. It leaves the dimensions of the layer and the pixel information unchanged of your social media post image.
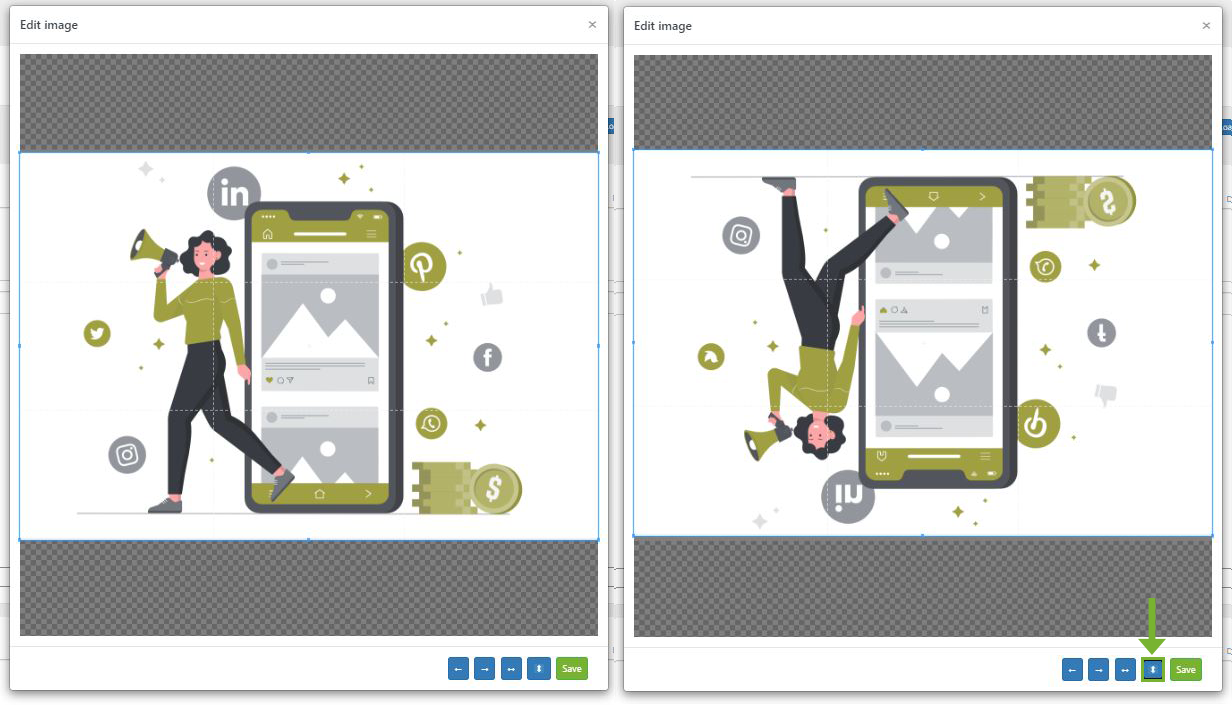
Flip an image vertically
The flip vertically function (up and down arrow) reverses the image horizontally, that is, from top to bottom. It leaves the dimensions of the layer and the pixel information unchanged of your social media post image.
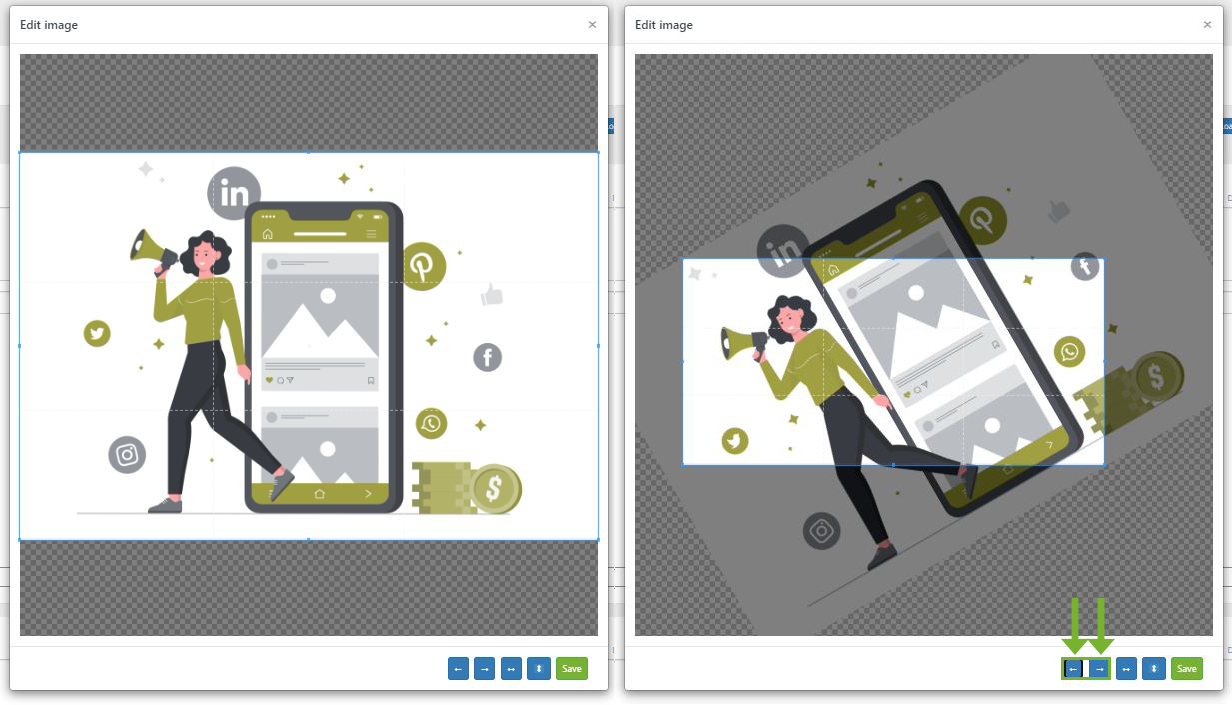
Rotate an image in any direction
You can also combine the cut/cropped image of the social media post image with the rotating image function in Blog2Social. By clicking “left” and “right” arrow buttons you can rotate the image to fit your desired area even better. Simply click and pull on the edges of the highlighted window overlay to change its width or height. Clicking and pulling on one of the four corners allows scaling the highlighted window overlay.
Once you are done editing your image simply click on “Save” to save your new adjusted image for the social media post you want to share.
Blog2Social will still make sure your image fits each network's guidelines well and is presented perfectly according to your individual configuration.
Tags: Image editing
Most popular FAQs
How to auto post imported RSS feeds
How do I auto-post and auto-schedule blog posts
Solutions: Why does Instagram not publish my post/text?
How do I connect Blog2Social with Instagram?
The connection to the server failed.
How to connect and automatically post to Facebook
I cannot connect my Facebook page
How to automatically re-publish blog posts on Bloglovin’
How to share on Facebook Profiles with Facebook