Network collections: How to save a specific selection of networks?
If you have connected a wide range of networks to Blog2Social, but don't want to share every post on all of them, creating network collections can be a real time-saver. With pre-selected network collections, you won't need to manually select or deselect networks each time.
Simply choose the network collection that best suits your needs. For example:
- Visual Networks (Instagram, Pinterest, Flickr)
- Business Networks (LinkedIn, XING)
- Blogging & Content Networks (Tumblr, Medium, Torial)
- Managing an agency? Group your clients' accounts into custom network collections for quick and easy sharing!
How to save a custom network collection (Pro and Business version)
To do this, go to your Blog2Social dashboard and click "Networks". At the top of the page, click "Create new network collection".
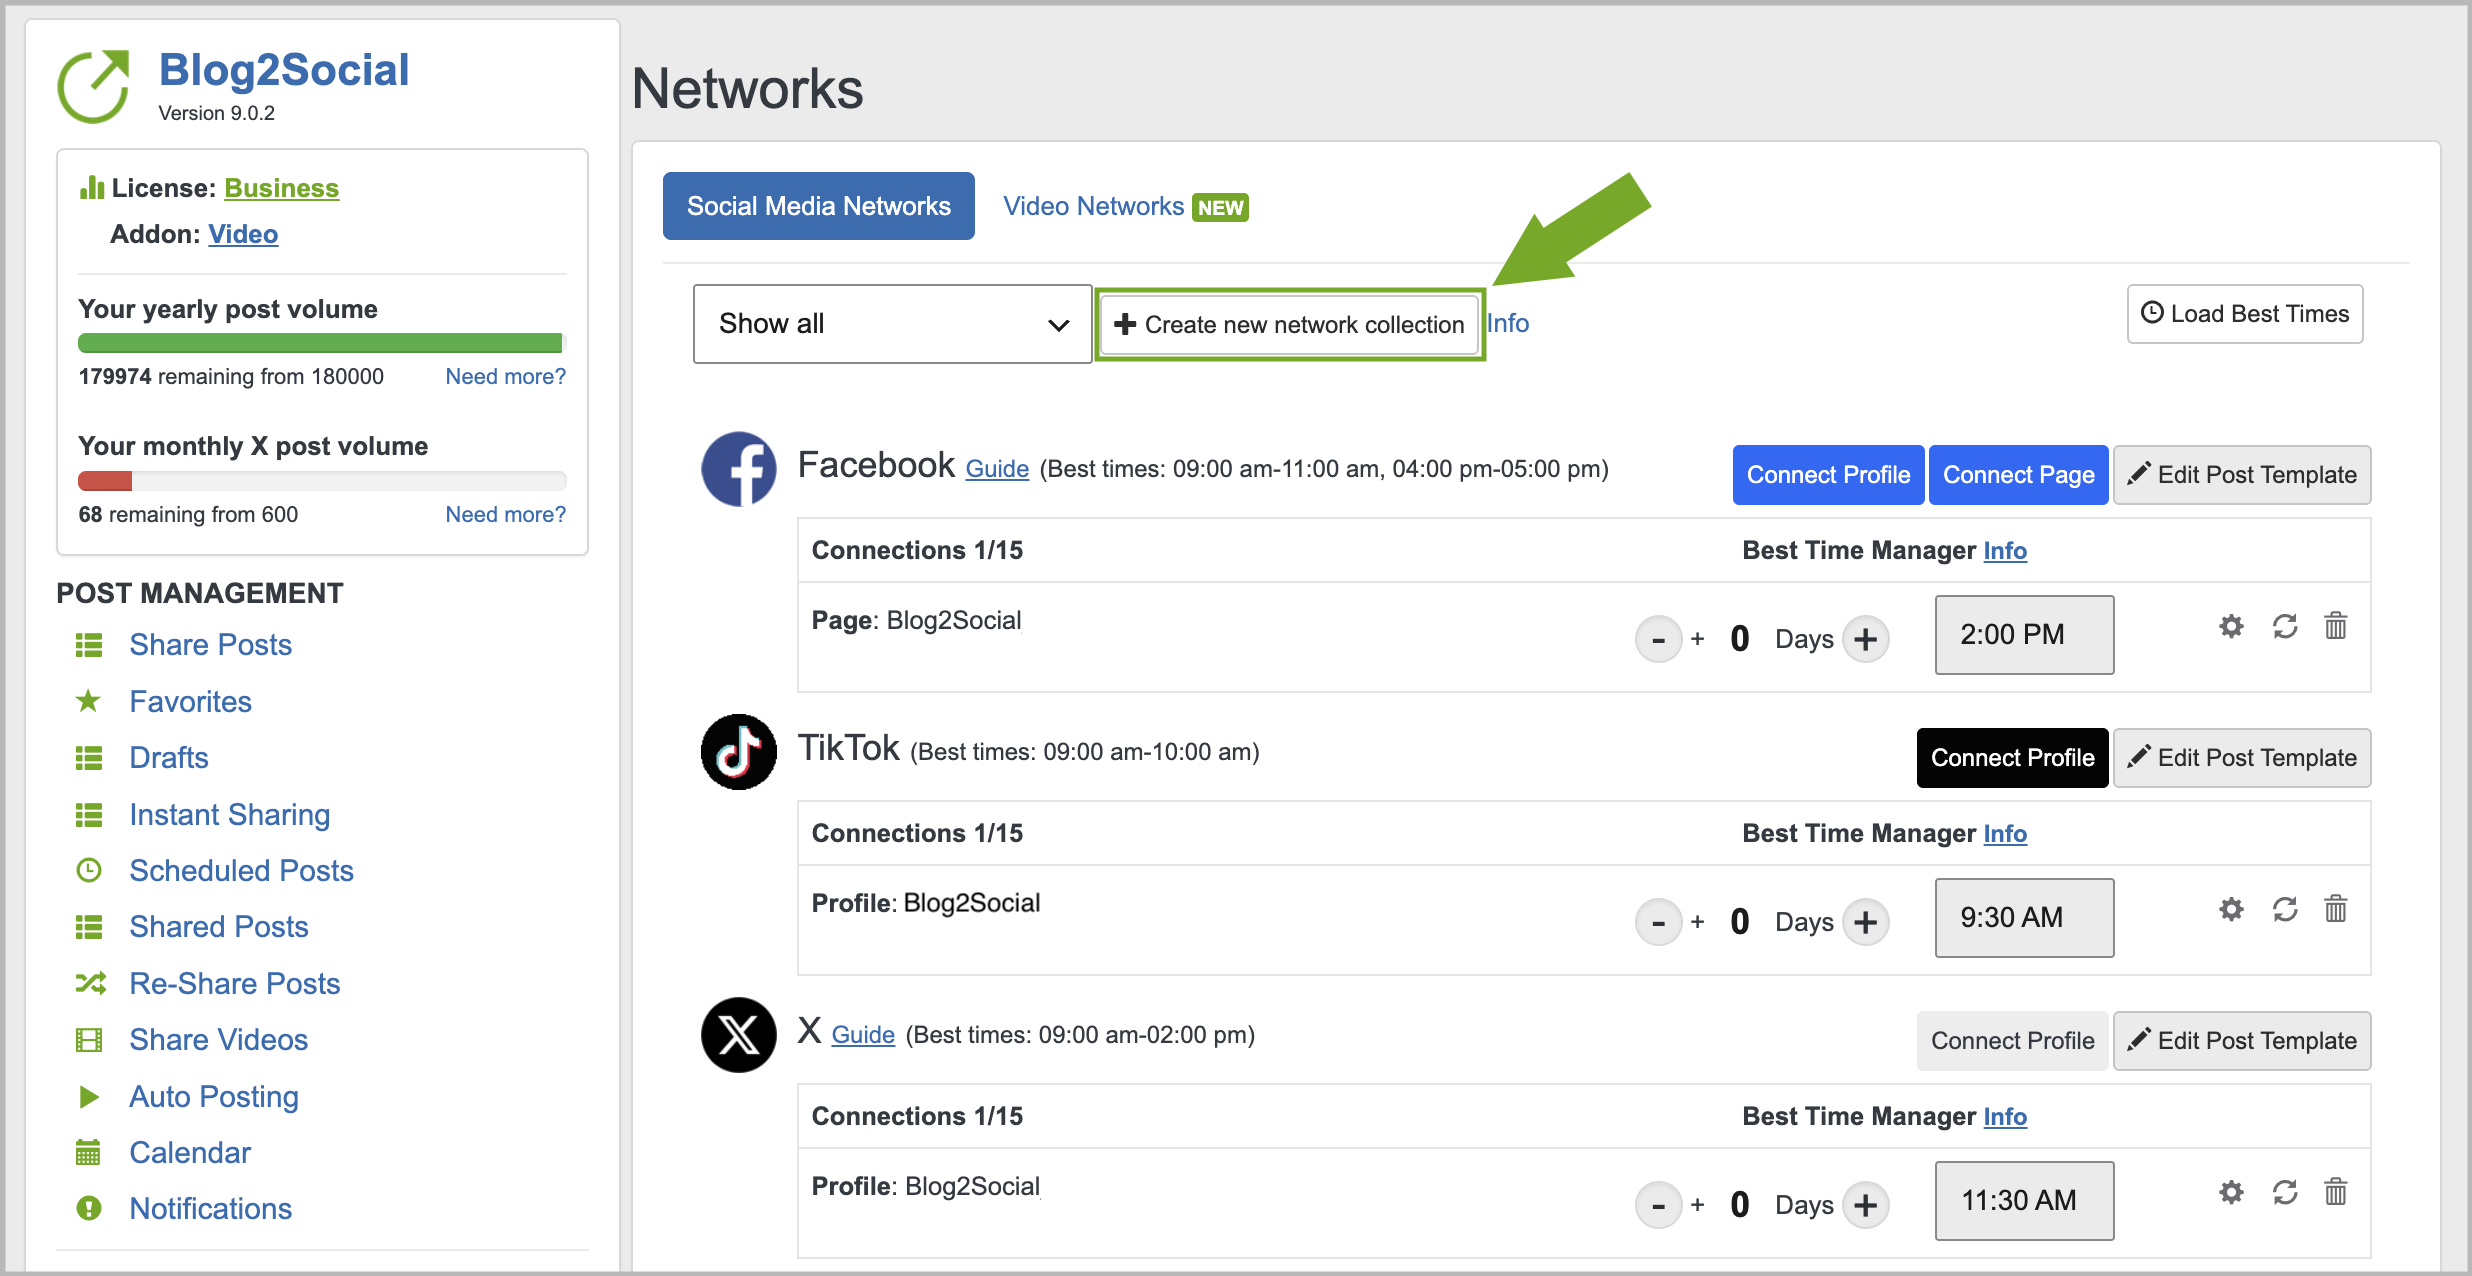
A new window will open. Enter a name and click "Create".

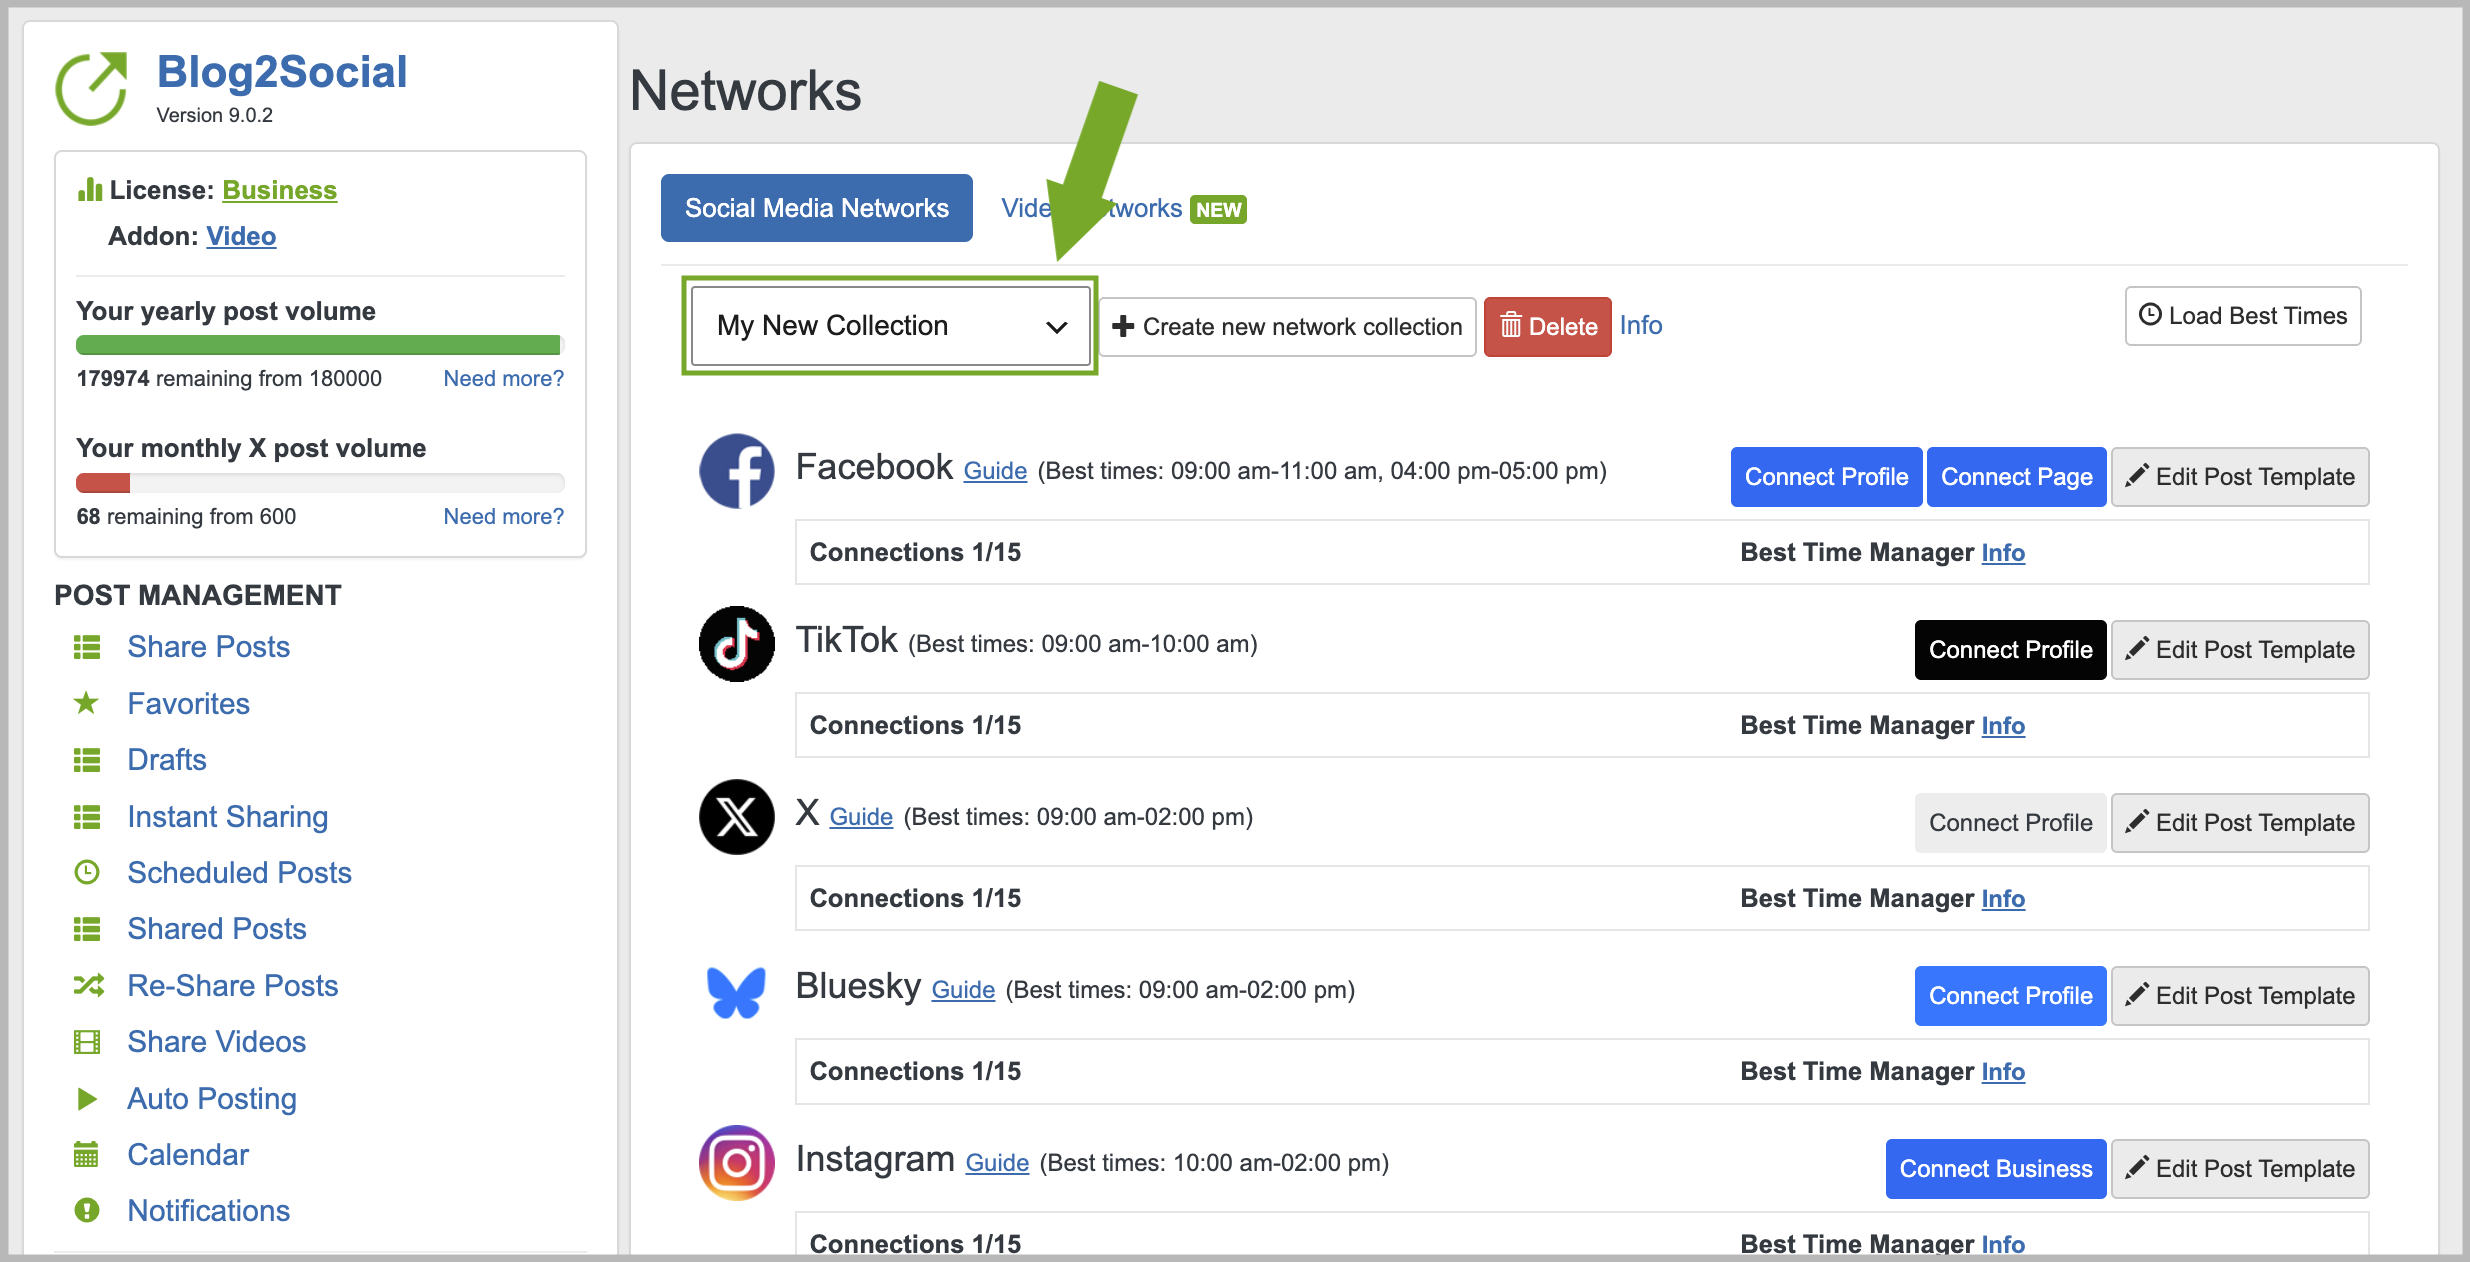
You will then be directed to the standard network overview. Simply select your newly created collection and connect the platforms you want to include.
Advanced Network Management (Business version)
To add a network account to your new network collection, you don't need to re-enter your login credentials. Simply assign your existing connection to the collection:
- Create your new network collection.
- Go back to your network overview by clicking "Show all" at the top of the "Networks" page.
- Next to each network, you will see three small grey icons—one shaped like a gear.
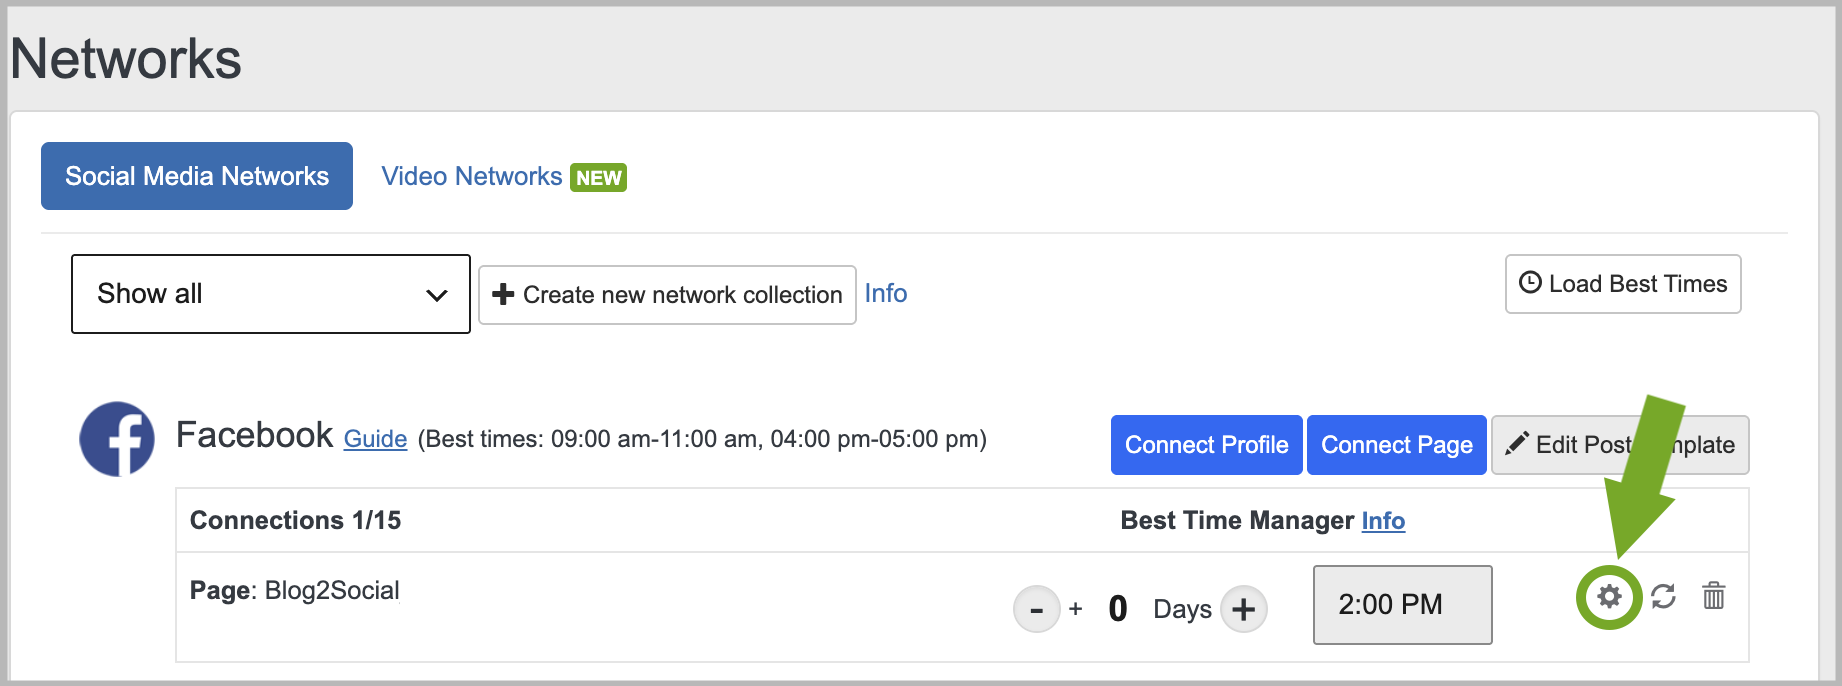
- The pop-up "Advanced Network Settings" will open.
- Select your desired network collection and click "move".

You just moved the connection to your network collection. Happy Sharing!
Other helpful guides
- How to auto-post imported RSS feeds and blog posts on Social Media
- How to create social media posts and share link, text, image or video posts
- Why is my image not displayed in my social media posts?
Tags: collection, network collection, networks, save collection, selection
Most popular FAQs
How to auto post imported RSS feeds
How do I auto-post and auto-schedule blog posts
Solutions: Why does Instagram not publish my post/text?
How do I connect Blog2Social with Instagram?
The connection to the server failed.
How to connect and automatically post to Facebook
I cannot connect my Facebook page
How to automatically re-publish blog posts on Bloglovin’
How to share on Facebook Profiles with Facebook